Introduction
Let’s be real—baked chicken cutlets are a game-changer. They’re crispy, juicy, and packed with flavor, but without all the grease that comes with frying. If you’ve ever found yourself craving that golden, crunchy coating but didn’t want to deal with a pan full of hot oil, then this is your answer.
In this guide, we’re covering everything you need to know about baked chicken cutlets. From what makes them special to how to get that crispy, oven-baked perfection, we’ve got it all. We’ll also dive into the best ingredients, common mistakes to avoid, and even creative ways to season them.
Whether you’re a beginner in the kitchen or someone who just wants a no-fuss dinner that the whole family will love, this guide has you covered. So grab your apron (or don’t—no judgment here), and let’s get cooking!
Part 1: What Are Baked Chicken Cutlets?
What Makes Chicken Cutlets Different from Other Cuts?
First things first—what exactly is a chicken cutlet?
A chicken cutlet is just a boneless, skinless chicken breast that’s been sliced thin and pounded out to an even thickness. Think of it as the thinner, faster-cooking cousin of a regular chicken breast. This means:
- It cooks quicker – No waiting forever for the center to cook through.
- It stays juicy – Even thickness means no dry spots.
- It crisps up beautifully – More surface area for that golden, crunchy goodness.
And the best part? Because we’re baking these instead of frying, we’re skipping the extra oil without sacrificing flavor.
Why Baking Is a Healthier Alternative to Frying
Let’s be honest—fried chicken is delicious. But all that oil? Not so great for your health.
Baking chicken cutlets gives you the best of both worlds. You still get that crispy, golden crust, but with way less fat and calories. Plus, it’s way easier—no standing over a hot stove, flipping cutlets, or dealing with splattering oil.
- Less oil – Instead of deep-frying, we’re using a light spray or drizzle.
- Less mess – No greasy pans or oil clean-up.
- More flavor – Seasonings stick better without getting lost in the oil.
So yeah, baked chicken cutlets are basically the ultimate weeknight dinner hack—crispy, easy, and guilt-free. What’s not to love?
Part 2: Ingredients and Essential Tools
What You Need to Make the Best Baked Chicken Cutlets
Before we dive into the cooking process, let’s talk about the key ingredients and tools that make baked chicken cutlets absolutely delicious.
Must-Have Ingredients for Maximum Flavor
To get that perfect crispy-on-the-outside, juicy-on-the-inside texture, you’ll need:
- Chicken breasts – Thinly sliced or pounded into cutlets for even cooking.
- Breadcrumbs – Panko works best for extra crunch, but regular breadcrumbs work too.
- Parmesan cheese – Adds flavor and helps with browning.
- Eggs – Helps the coating stick.
- Flour – Creates a base layer for the egg wash to hold onto.
- Seasonings – A mix of salt, black pepper, garlic powder, paprika, and Italian seasoning is always a winner.
Want to mix it up? Try adding a little cayenne for heat or some lemon zest for a fresh twist!
Kitchen Tools That Make the Process Easier
- Baking sheet – Line it with parchment paper for easy cleanup.
- Wire rack – Placing the cutlets on a rack helps them crisp up evenly.
- Meat mallet – If your chicken isn’t already thin, pounding it out ensures even cooking.
- Cooking spray – A light mist of oil makes the coating extra crispy without frying.
Now that you’ve got everything ready, let’s move on to prepping the chicken!
Part 3: How to Prepare Chicken Cutlets for Baking
Prepping Chicken Cutlets for the Oven
Great baked chicken cutlets start with good prep. If you skip this step, you might end up with unevenly cooked or soggy cutlets—no one wants that!
How to Properly Slice and Pound the Chicken
- If your chicken breasts are thick, slice them in half lengthwise to create thinner pieces.
- Place each piece between two layers of plastic wrap or parchment paper.
- Using a meat mallet (or a rolling pin), gently pound them to about ½-inch thickness.
Why bother? Thin cutlets cook faster, stay tender, and absorb seasonings better.
Best Seasoning and Marinade Options for Extra Flavor
If you want to take your baked chicken cutlets up a notch, consider marinating them before breading. A simple marinade can add tons of moisture and flavor.
Quick marinade ideas:
- Lemon & Herb: Olive oil, lemon juice, garlic, and fresh herbs.
- Spicy Kick: Buttermilk, hot sauce, and black pepper.
- Garlic Parmesan: Yogurt, minced garlic, and grated Parmesan.
Let the cutlets sit in the marinade for at least 30 minutes (or up to overnight) for the best results.
Part 4: Step-by-Step Guide to Baking Chicken Cutlets

How to Bake Chicken Cutlets for a Crispy Finish
Now that your chicken is prepped, let’s get to the fun part—baking! The secret to crispy baked chicken cutlets is all in the coating and cooking method. Here’s how to do it right.
Temperature and Cooking Time for Perfectly Juicy Chicken
- Preheat your oven to 400°F (200°C). This high temperature helps the cutlets crisp up while keeping the inside juicy.
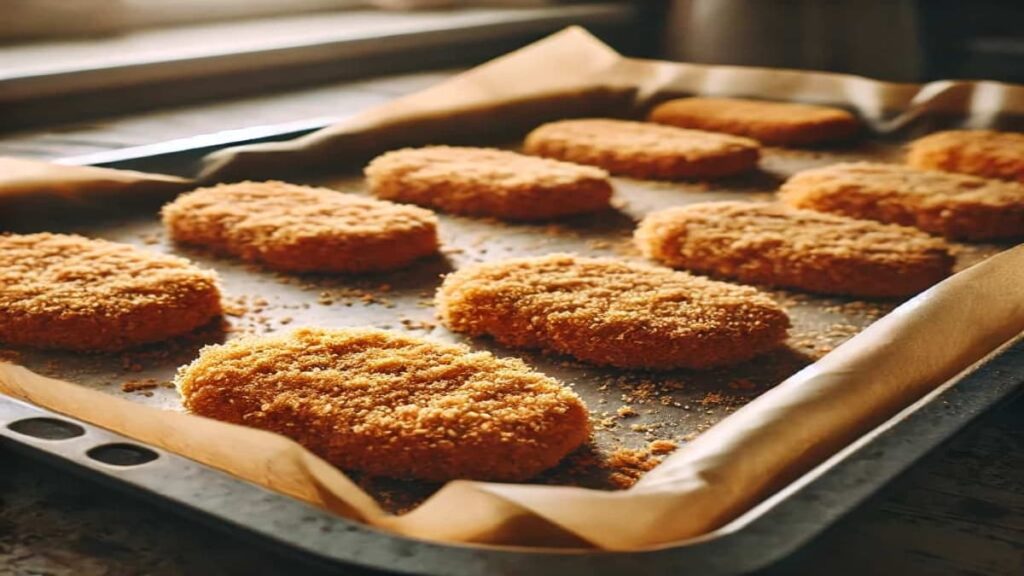
- Line a baking sheet with parchment paper or place a wire rack on top for better air circulation.
- Bake for 15-18 minutes, flipping halfway through. The cutlets should be golden brown and have an internal temp of 165°F (74°C).
Want them even crispier? Broil for 1-2 minutes at the end! Just keep an eye on them so they don’t burn.
How to Get a Golden, Crunchy Coating Without Frying
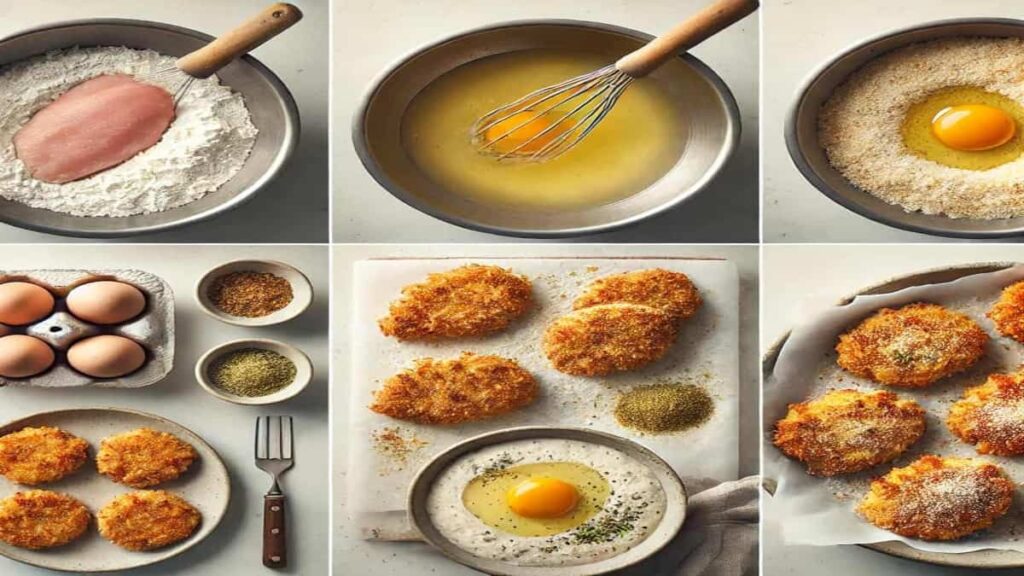
- Double-coating is key. First, dip the chicken in seasoned flour, then egg, and finally, a mixture of panko breadcrumbs and Parmesan.
- Don’t skimp on seasoning. Mix salt, garlic powder, paprika, and black pepper into the breadcrumb mixture for extra flavor.
- Lightly spray with cooking oil. A quick mist over the top helps the cutlets brown beautifully without deep frying.
And that’s it! Perfectly crispy baked chicken cutlets—no messy oil, no frying, just pure deliciousness.
Part 5: Common Mistakes and How to Avoid Them
Troubleshooting Baked Chicken Cutlets
Even simple recipes can go wrong if you miss a step. Here’s how to avoid the most common mistakes.
Why Your Cutlets Might Be Dry and How to Fix It
Dry chicken is the worst! If your baked chicken cutlets turn out tough, one of these could be the culprit:
- Overcooking: Use a meat thermometer and pull them out at 165°F. Any higher, and you risk dry chicken.
- Skipping the marinade: Even a quick soak in buttermilk or yogurt keeps chicken moist.
- Using too little oil: A light spray of oil helps keep the cutlets from drying out in the oven.
Getting Even Crispiness Without Overcooking
- Use a wire rack. This keeps air circulating around the cutlets, crisping them up evenly.
- Flip halfway through. Don’t forget this step—otherwise, one side may be soggy.
- Don’t overcrowd the pan. Give each cutlet space so they crisp up instead of steaming.
With these simple fixes, your baked chicken cutlets will turn out crispy, juicy, and absolutely perfect every time.
For more chicken recipes, check out this Lime Chicken Breast Rice Pilaf—a great way to serve your crispy cutlets with a flavorful side!
Part 6: Flavor Variations and Seasoning Ideas
Delicious Ways to Customize Your Baked Chicken Cutlets
Sure, classic baked chicken cutlets are amazing, but why not mix things up? With just a few tweaks, you can create bold new flavors that take your meal to the next level.
Italian-Style, Spicy, and Herb-Crusted Variations
- Italian-Style: Mix grated Parmesan, dried oregano, basil, and garlic powder into your breadcrumbs. Serve with marinara sauce for a crispy, cheesy delight.
- Spicy Kick: Add cayenne pepper, smoked paprika, and chili flakes to your seasoning mix for a fiery twist. Drizzle with hot honey for a sweet-heat combo.
- Herb-Crusted: Use fresh parsley, thyme, and rosemary in your breadcrumb coating. The fresh herbs add a burst of flavor without overpowering the dish.
How to Make Gluten-Free or Low-Carb Cutlets
- Gluten-Free: Swap out regular breadcrumbs for gluten-free panko or crushed cornflakes.
- Low-Carb: Skip the breadcrumbs altogether and coat your cutlets with almond flour or crushed pork rinds.
No matter which variation you choose, these flavor-packed ideas make baked chicken cutlets even more exciting.
Part 7: Best Side Dishes to Serve with Baked Chicken Cutlets
What to Pair with Baked Chicken Cutlets for a Complete Meal
A great main dish needs the perfect sidekick, and baked chicken cutlets are no exception. Whether you want something light or hearty, these pairings will complete your meal.
Light and Fresh Sides for a Healthy Meal
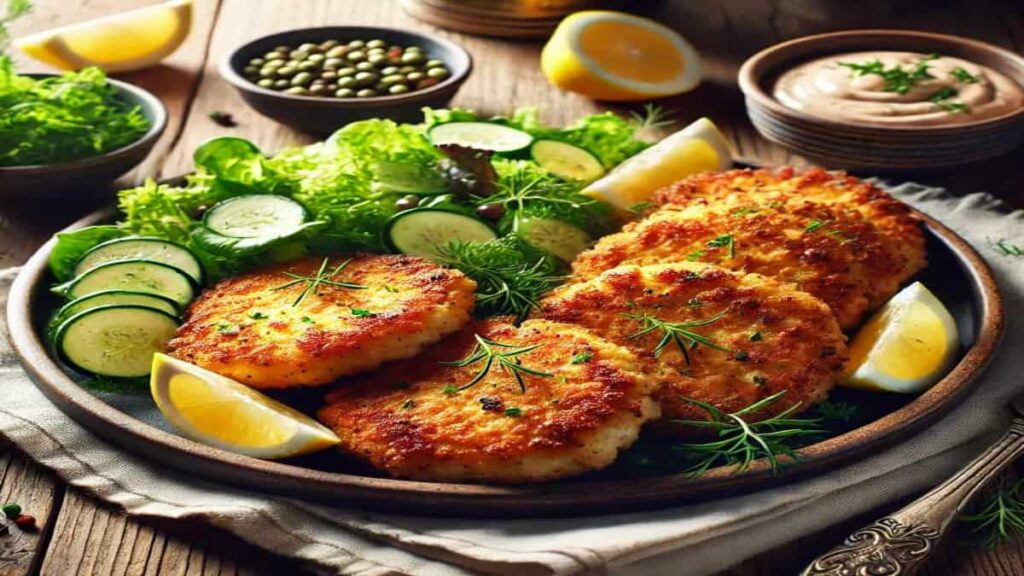
- Roasted Vegetables: Toss bell peppers, zucchini, or asparagus with olive oil and roast alongside your cutlets for an easy, colorful side.
- Cucumber Salad: A crisp, refreshing salad with cucumbers, red onions, and a tangy vinaigrette balances out the crispy cutlets.
- Grain Bowls: Serve sliced baked chicken cutlets over a bowl of quinoa, farro, or brown rice with fresh veggies and a drizzle of lemon tahini dressing.
Comfort Food Pairings for a Hearty Dinner
- Mashed Potatoes: Creamy, buttery mashed potatoes and crispy chicken? A match made in heaven.
- Garlic Bread: Perfect for soaking up any sauces you might serve with your cutlets.
- Mac and Cheese: The ultimate comfort food duo—crispy chicken and gooey cheese!
For a fresh and delicious side, check out this Lime Chicken Breast Rice Pilaf—it pairs beautifully with crispy chicken!
Part 8: Storing and Reheating Leftover Chicken Cutlets
Keeping Your Baked Chicken Cutlets Fresh
So, you made a batch of delicious baked chicken cutlets, but now you’ve got leftovers. No worries! With the right storage, they’ll stay crispy and tasty for days.
How to Store Leftovers Without Losing Crispiness
- Refrigerator: Place cooled cutlets in an airtight container with a paper towel to absorb moisture. They’ll stay fresh for 3–4 days.
- Freezer: For longer storage, freeze cutlets in a single layer on a baking sheet. Once frozen, transfer them to a ziplock bag. They’ll last up to 3 months.
The Best Ways to Reheat for That Just-Baked Texture
Nobody wants soggy cutlets! Here’s how to reheat them the right way:
- Oven: Preheat to 375°F, place cutlets on a baking sheet, and heat for 10–12 minutes.
- Air Fryer: Set to 350°F and heat for 5–7 minutes—this keeps them extra crispy!
- Skillet: Warm over medium heat for 3–5 minutes per side.
Avoid the microwave if possible—it makes the coating soggy. But if you’re in a rush, heat in 30-second bursts to prevent drying out.
Part 9: FAQs About Baked Chicken Cutlets
Frequently Asked Questions
How do you make baked chicken cutlets crispy without frying?
The key is using panko breadcrumbs, baking at 400°F, and spraying the cutlets lightly with oil before baking. A quick broil at the end also helps!
Can I use different types of breadcrumbs for coating?
Absolutely! Panko gives the best crunch, but regular breadcrumbs work too. For a gluten-free version, try almond flour or crushed cornflakes.
What’s the best way to make baked chicken cutlets ahead of time?
Bread the cutlets and store them in the fridge for up to 24 hours before baking. This helps the coating stick better and saves time when cooking.
Can I use chicken thighs instead of breasts?
Yes! Boneless, skinless chicken thighs work well and add extra juiciness. Just adjust the baking time slightly, as thighs take a bit longer to cook through.